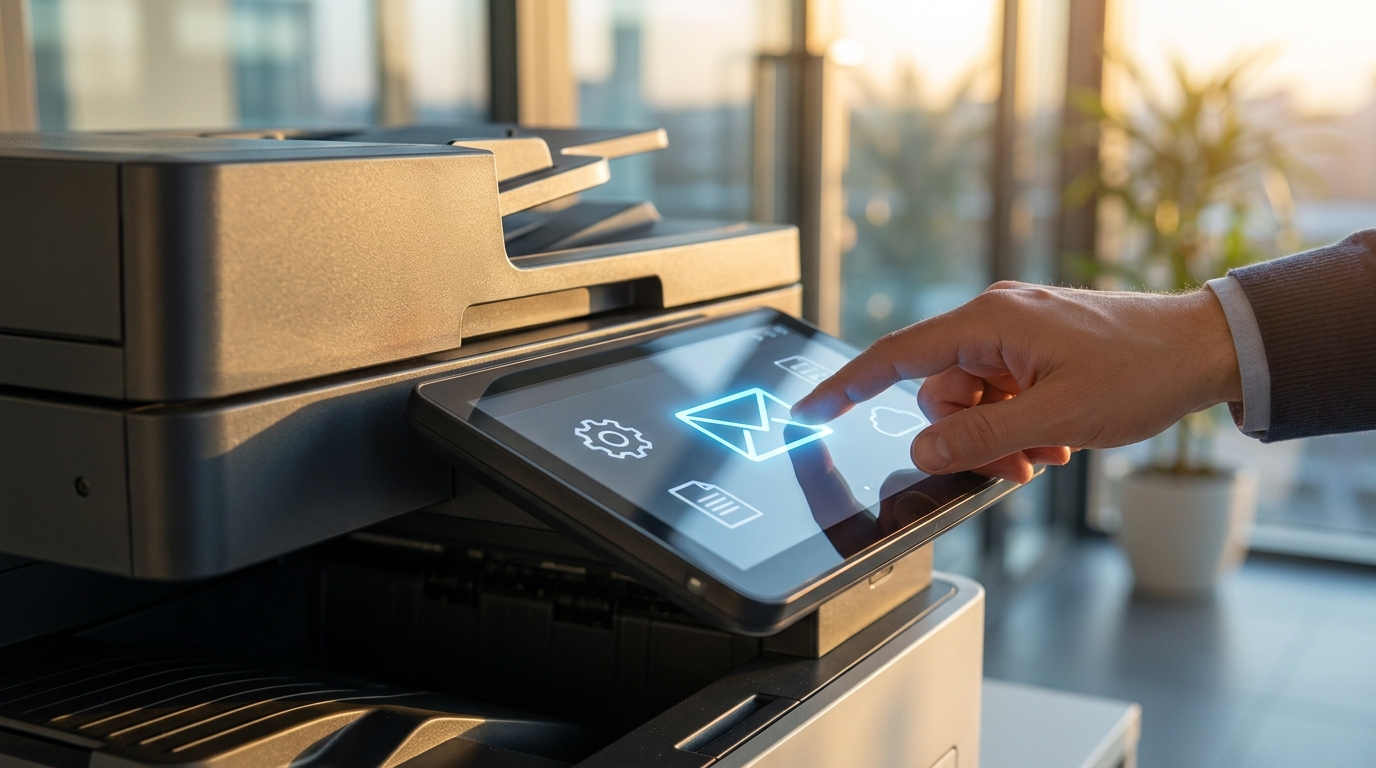
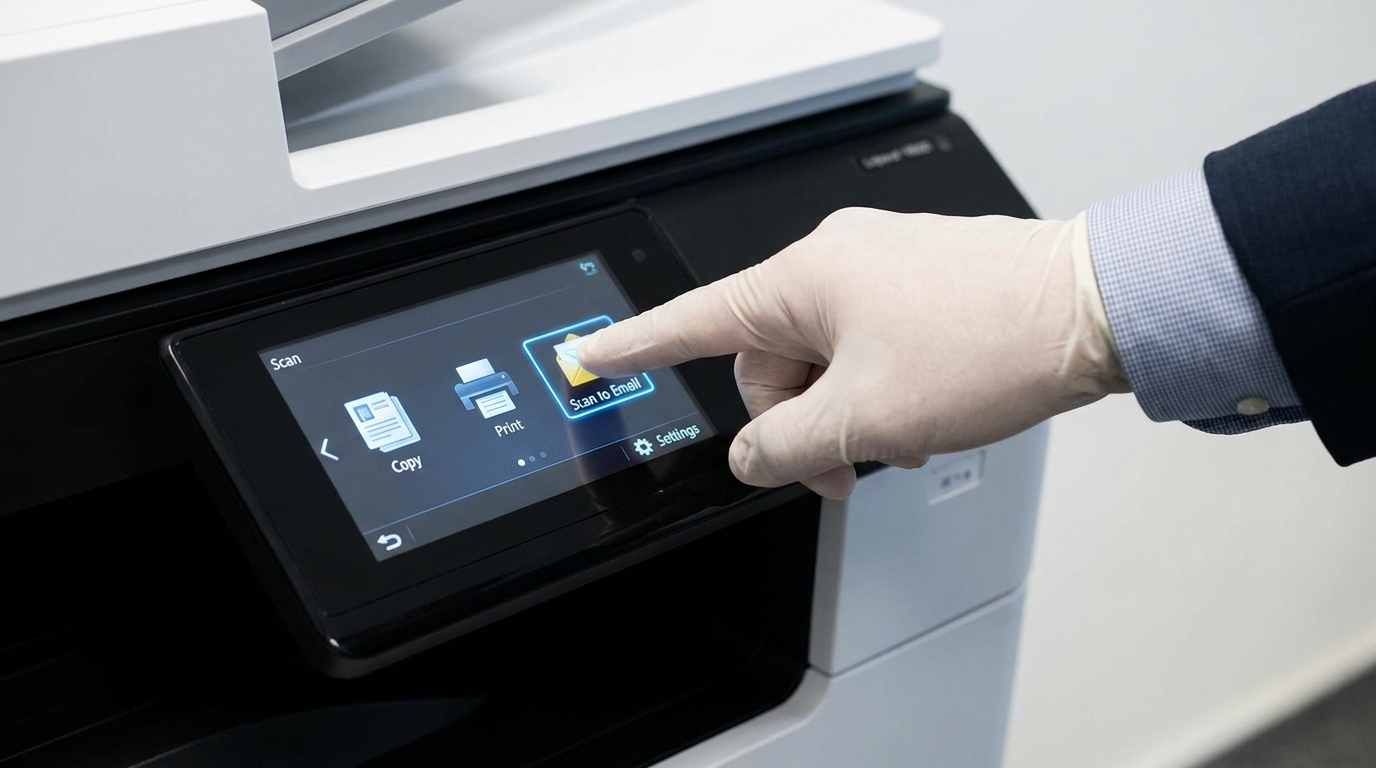
In the fast-paced Hong Kong business environment, efficiency is everything. Whether you are an SME owner in Kwun Tong or an IT manager in Central, digitizing documents quickly is a daily necessity. One of the most productive features of any modern multifunction printer (MFP) is the "Scan-to-Email" function. It allows you to scan contracts, invoices, and reports directly to your inbox or a client's email in seconds.
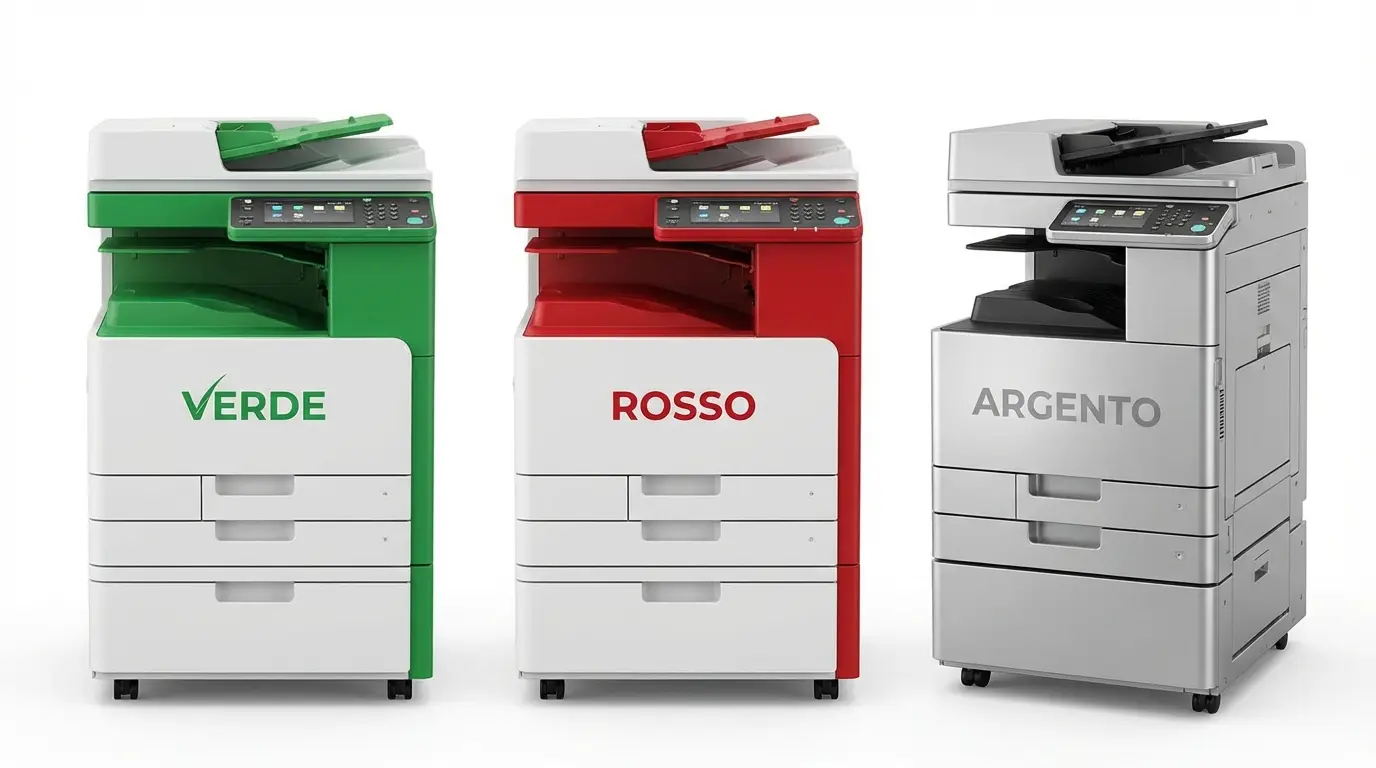
While the interface might look different depending on whether you are using a FujiFilm, Xerox, Canon, Konica Minolta, Kyocera, Sharp, Toshiba, Brother, HP, Ricoh, Epson, or Pantum machine, the underlying technology is exactly the same. This guide will walk you through the universal steps to configure scan-to-email on your office copier.
Phase 1: Gather Your Information (The Prerequisites)
Before you touch the copier, you need to collect some basic network and email information. Ensure your machine is turned on, connected to your standard Hong Kong 220V power supply, and plugged into your office network via Ethernet or Wi-Fi.
Your Pre-Setup Checklist:
- Copier IP Address: You can usually find this by printing a "Network Configuration Page" from the device settings menu.
- Admin Credentials: The default administrator username and password for your copier (check your manual if you haven't changed it).
- An Email Account: A dedicated email address (e.g., scanner@yourcompany.com.hk) to send the emails from.
- SMTP Server Details: The outgoing mail server settings for your email provider.
Phase 2: Find Your SMTP Server Settings
Most Hong Kong SMEs use cloud-based email providers like Microsoft 365 or Google Workspace. You will need to input these specific details into your copier. Here is a handy reference chart for the most common providers:
| Email Provider | SMTP Server Address | Port Number | Security / Encryption |
|---|---|---|---|
| Microsoft 365 (Office 365) | smtp.office365.com | 587 | STARTTLS / TLS |
| Google Workspace / Gmail | smtp.gmail.com | 465 (or 587) | SSL (for 465) / TLS (for 587) |
| Generic Webmail / ISP | Check with your IT provider | 25, 465, or 587 | Depends on provider |

Phase 3: Step-by-Step Configuration
Instead of tapping on the small copier screen, it is much easier to configure these settings through your computer using the copier's Web Interface. Here is how to do it:
Step 1: Access the Web Interface
Open a web browser (Chrome, Edge, Safari) on a computer connected to the same network as the printer. Type the copier's IP address into the address bar and press Enter. You will be greeted by the machine's login page (e.g., Ricoh's "Web Image Monitor" or FujiFilm's "CentreWare Internet Services"). Log in using the admin credentials.
Step 2: Locate Network & Email Settings
Navigate through the menus to find the network settings. Look for terms like "Network," "Connectivity," "Email," or "SMTP Setup."
Step 3: Enter the SMTP Details
Input the SMTP server address and Port Number you gathered in Phase 2. Ensure you select the correct encryption method (SSL or TLS). If your provider requires authentication (which almost all modern providers do), check the box that says "SMTP Authentication" and enter the email address and password for the scanning account.
Step 4: Set the "From" Address
Find the setting for the "Device Email Address" or "Administrator Email." This must match the email address you used for SMTP authentication. If you try to send an email "from" a different address than the one you logged in with, Microsoft and Google will block the email as spam.
Step 5: Save and Test
Save your settings. Most copiers have a "Test Connection" or "Send Test Email" button on the same page. Click it to verify everything is working. If you receive the test email, you are ready to go!
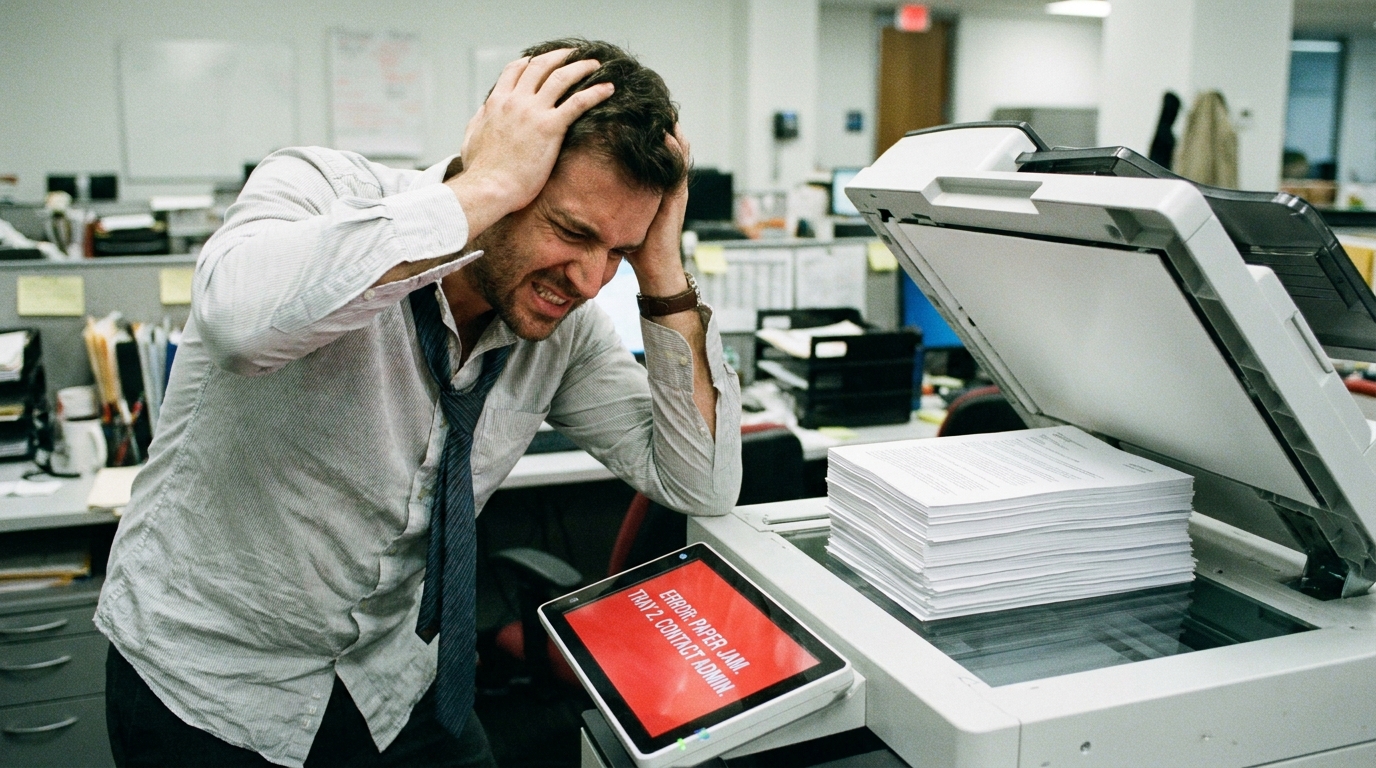
Troubleshooting Common Errors
If your test email fails, don't panic. Here are the most common reasons why scan-to-email fails in modern setups:
- Two-Factor Authentication (2FA) Blocks: If you are using Gmail or Microsoft 365, standard passwords often won't work due to security policies. You will need to generate an "App Password" within your Google or Microsoft account settings and use that 16-character password in the copier's SMTP settings instead of your normal password.
- DNS Settings Missing: If your copier only has an IP address but no DNS server configured (like 8.8.8.8), it won't be able to translate "smtp.gmail.com" into a web address. Check your basic IPv4 settings.
- Blocked Ports: Some office firewalls block port 587 or 465. You may need your IT team to open these ports for the copier's IP address.
A Note on Hong Kong Office Environments
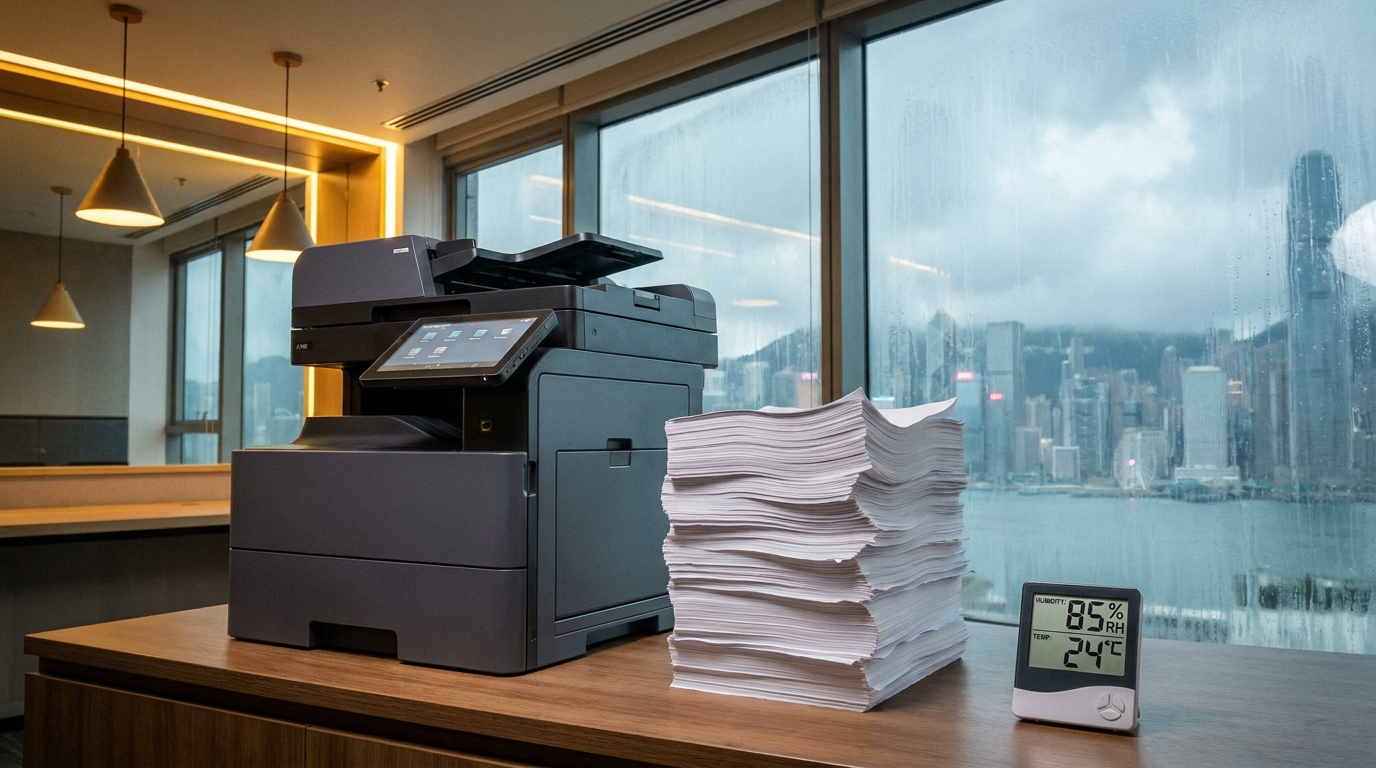
Once your scan-to-email is set up, you might be tempted to scan massive stacks of documents at once. Remember that Hong Kong's high humidity, especially in spring and summer, can cause paper to stick together. Always fan your documents before placing them in the automatic document feeder (ADF) to prevent multi-feed jams during large scan jobs.
Finally, if configuring SMTP settings, DNS, and App Passwords sounds too technical, this is exactly where a good copier maintenance contract comes in. A reputable provider in Hong Kong will include network setup support and adhere to a strict 4-hour SLA (Service Level Agreement) to ensure your office downtime is kept to an absolute minimum. If you're struggling, don't hesitate to lean on your vendor's IT support desk!
Need Expert Advice?
Our consultants can help you find the perfect printing solution for your office.
📞 +85221164877 · King Copier · Operated by Techieasy Limited